|
|
|
|
|
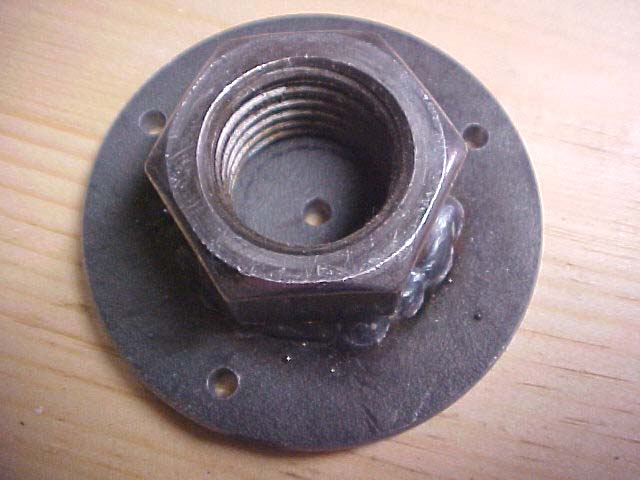
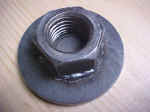
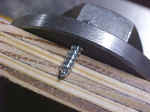
The faceplate used in this example is a homemade one made by welding a 1"-8 nut (for my particular
lathe) to some mild steel and then turned
round. Obviously, the weld must be leak free or any leaks need to be plugged with
caulking prior to use.
Other than cost, a factory made steel or aluminum faceplate would have worked equally as well. I have made vacuum chucks with no faceplate by drilling and tapping the thread into
a hardwood. I've used Maple and Walnut with success. |
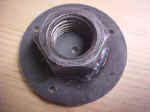
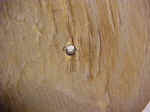
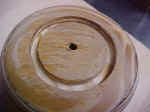
A hole is drilled in the center to couple the vacuum through as well as three holes drilled for fastening the faceplate to a wooden block.
The vacuum hole need not be dead center. I drill all of the holes on a
drill press. It's easier and cleaner to drill the steel there than on my
lathe. Because this is for a very light duty vacuum chuck, I chose three holes for mounting. If you are planning a larger or heavy duty chuck, make sure you select
enough mounting holes and the properly sized mounting hardware for safe operation. |
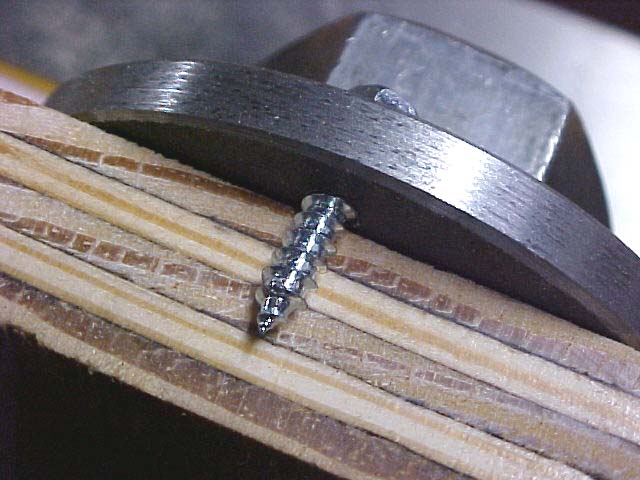
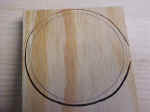
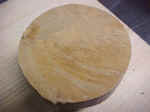
I am using a piece of plywood that is thick enough so the mounting screws (3/4" #8s) won't protrude. |
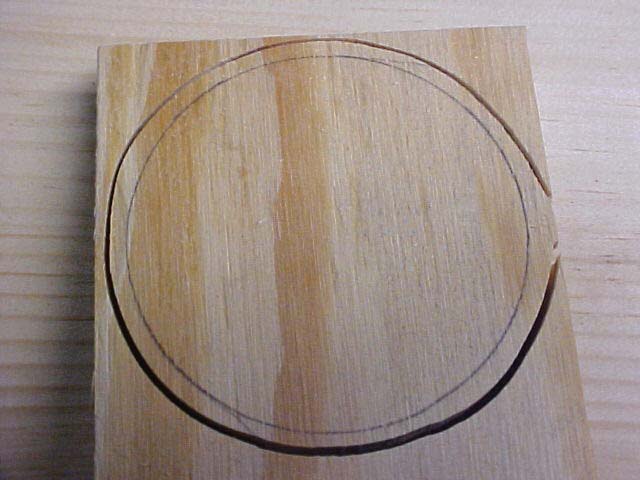
The circle is loosely cut on the bandsaw leaving extra for trimming on the lathe. |
| |
|
|
|
|
|
|
|

|
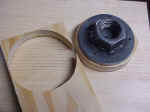
The faceplate is checked for fit and the best side of the plywood is used to
seal to the faceplate. |
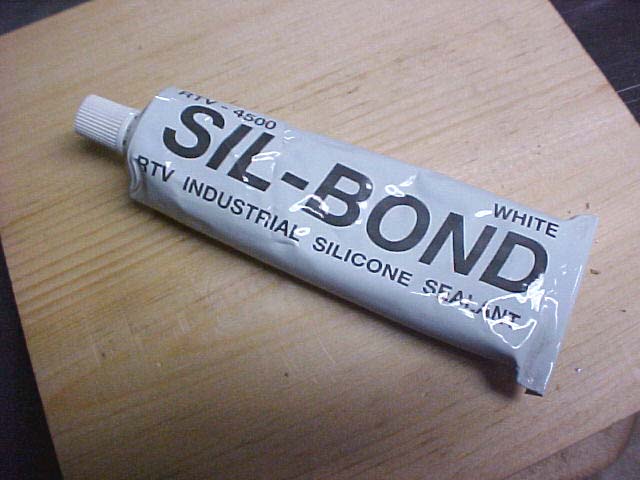
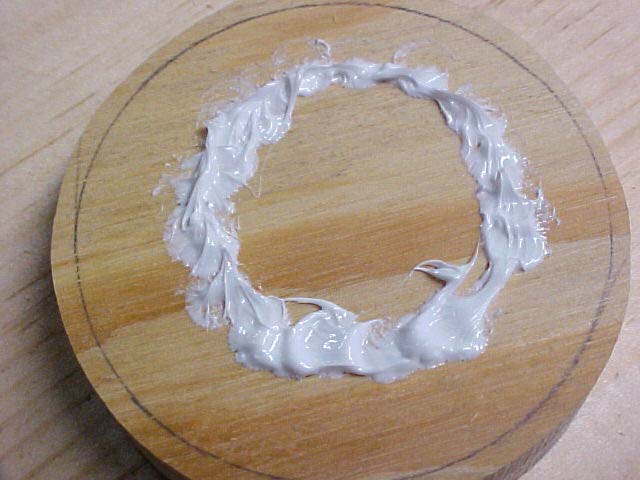
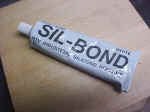
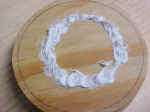
Probably not necessary, but I use whatever caulking compound is around to seal the wood to the faceplate. |
Not much is required. Just a ring that will seal around the center vacuum hole. |
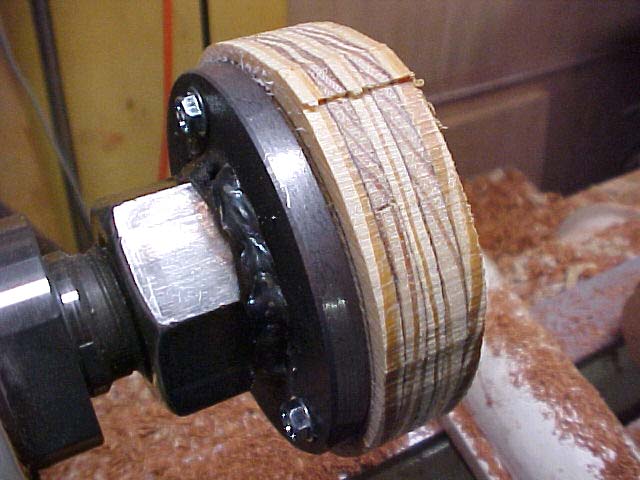
The faceplate is mounted to the wood block with the 3/4" #8 screws. |
| |
|
|
|
|
|
|

|
|
The worst side is out with the best side creating the seal to the faceplate with the assistance of the caulking. |
The vacuum hole already in the faceplate is drilled through the wood block now while it is easy to do. |
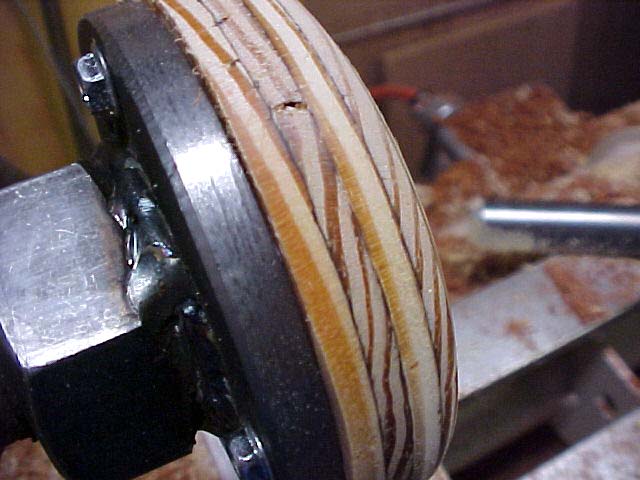
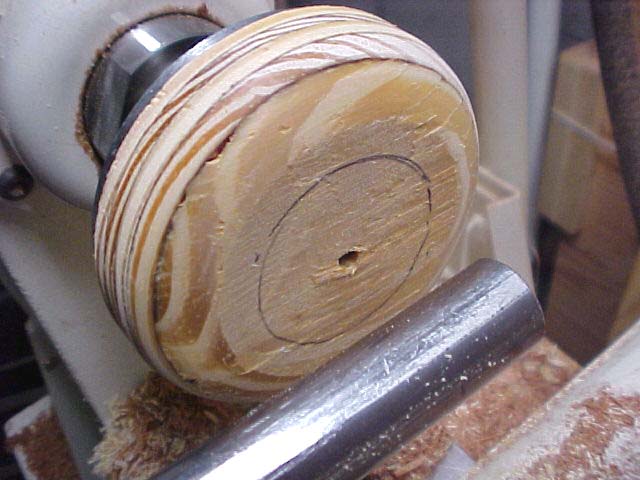
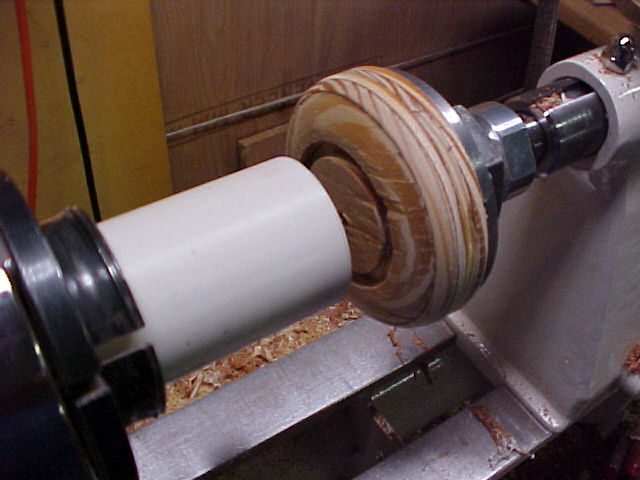
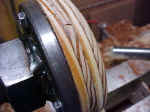
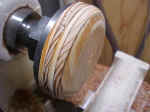
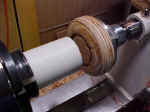
The faceplate is mounted on the lathe for truing and balancing. |
With no reason to be at exactly the same diameter as the steel on the faceplate, the wood is only turned until round and close in diameter. |
| |
|
|
|
|
|

|
|
|
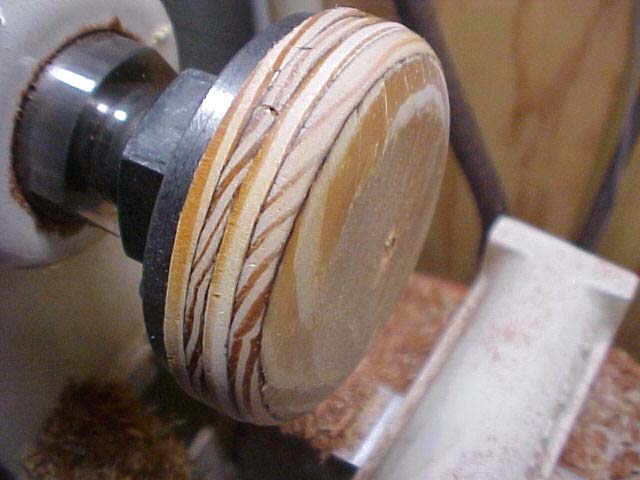
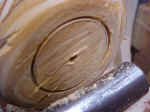
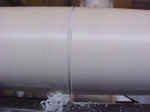
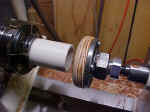
Rather than leave a sharp corner on the front, I roll that edge using a sweeping radius to the approximate edge of the tube. By breaking the sharp
edges on the front and back edges of the wood block, it becomes much more operator friendly if you should brush against it. |
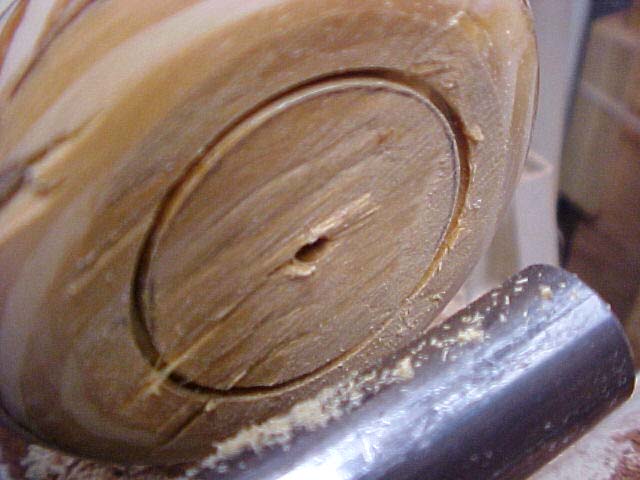
I mark the approximate id of the PVC tube to be mounted. |
By trial and error, I open the od until it's close and tune the id as well. |
Once it's a press fit, I open it to a slip fit and allow for a radius in the corners. |
| |
|
|
|
|
|
|
|
|
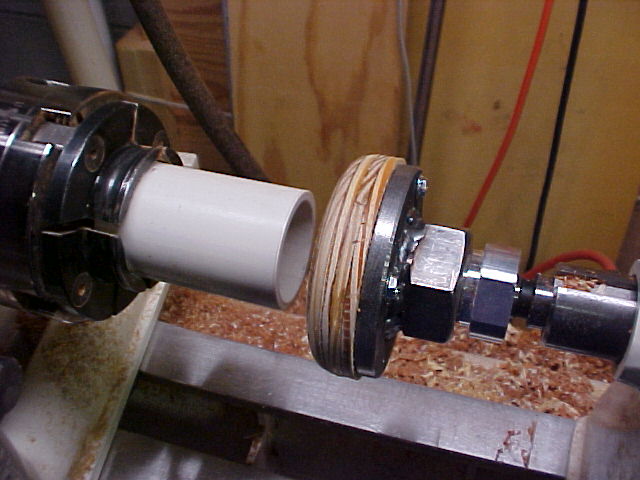
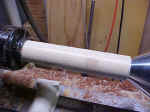
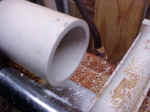
The PVC pipe I am going to use is loosely chucked and tightened after being centered with the tailstock cone. |
Once the PVC pipe is running true in the chuck, a parting tool is used to cut a length the proper distance from the chuck. |
The cut end is then true with a skew, the sharp edges are radiused with sandpaper, and the id, od, and end are sanded to roughen them for gluing. |
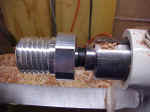
Although not necessary but helpful, I have a 1"-8 male threaded fitting that is attached to a #2MT that can be installed in the head or tail stock. |
| |
|
|
|
|
|

|
|
|
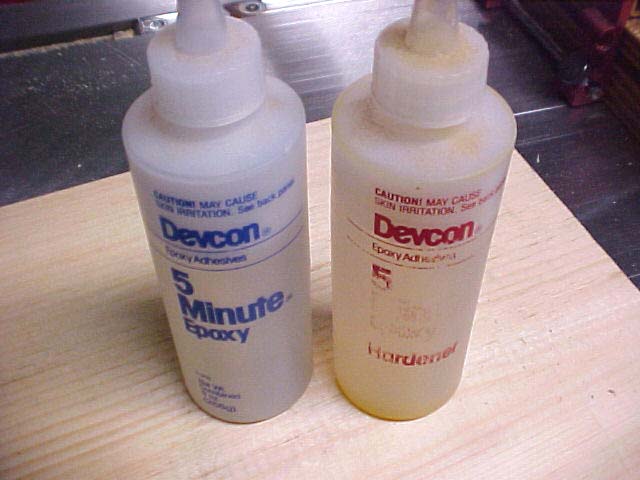
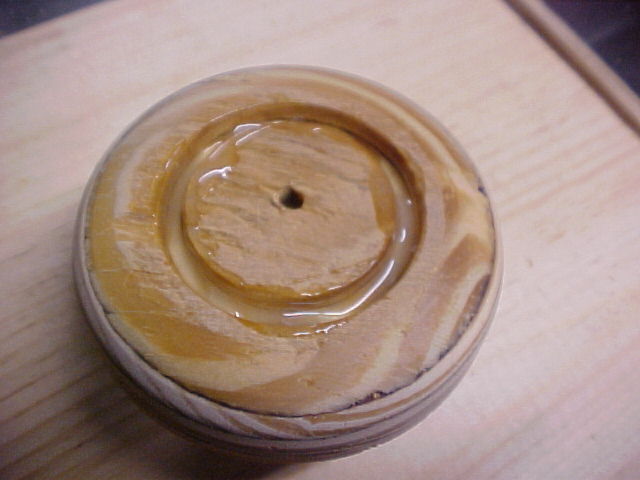
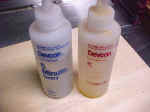
I bond the PVC to the plywood with standard hobby 5 minute epoxy. |
The epoxy is mixed and put in the bottom of the groove and on the sides as well. |
The faceplate ready for gluing is threaded on the tailstock fitting. |
This allows for good lineup between the PVC tubing mounted in the headstock chuck and the vacuum chuck under
construction in the tailstock. |
| |
Go to page 2 |
|
|
| |
|
|
|
Photos by Kurt Hertzog |
|
|
|